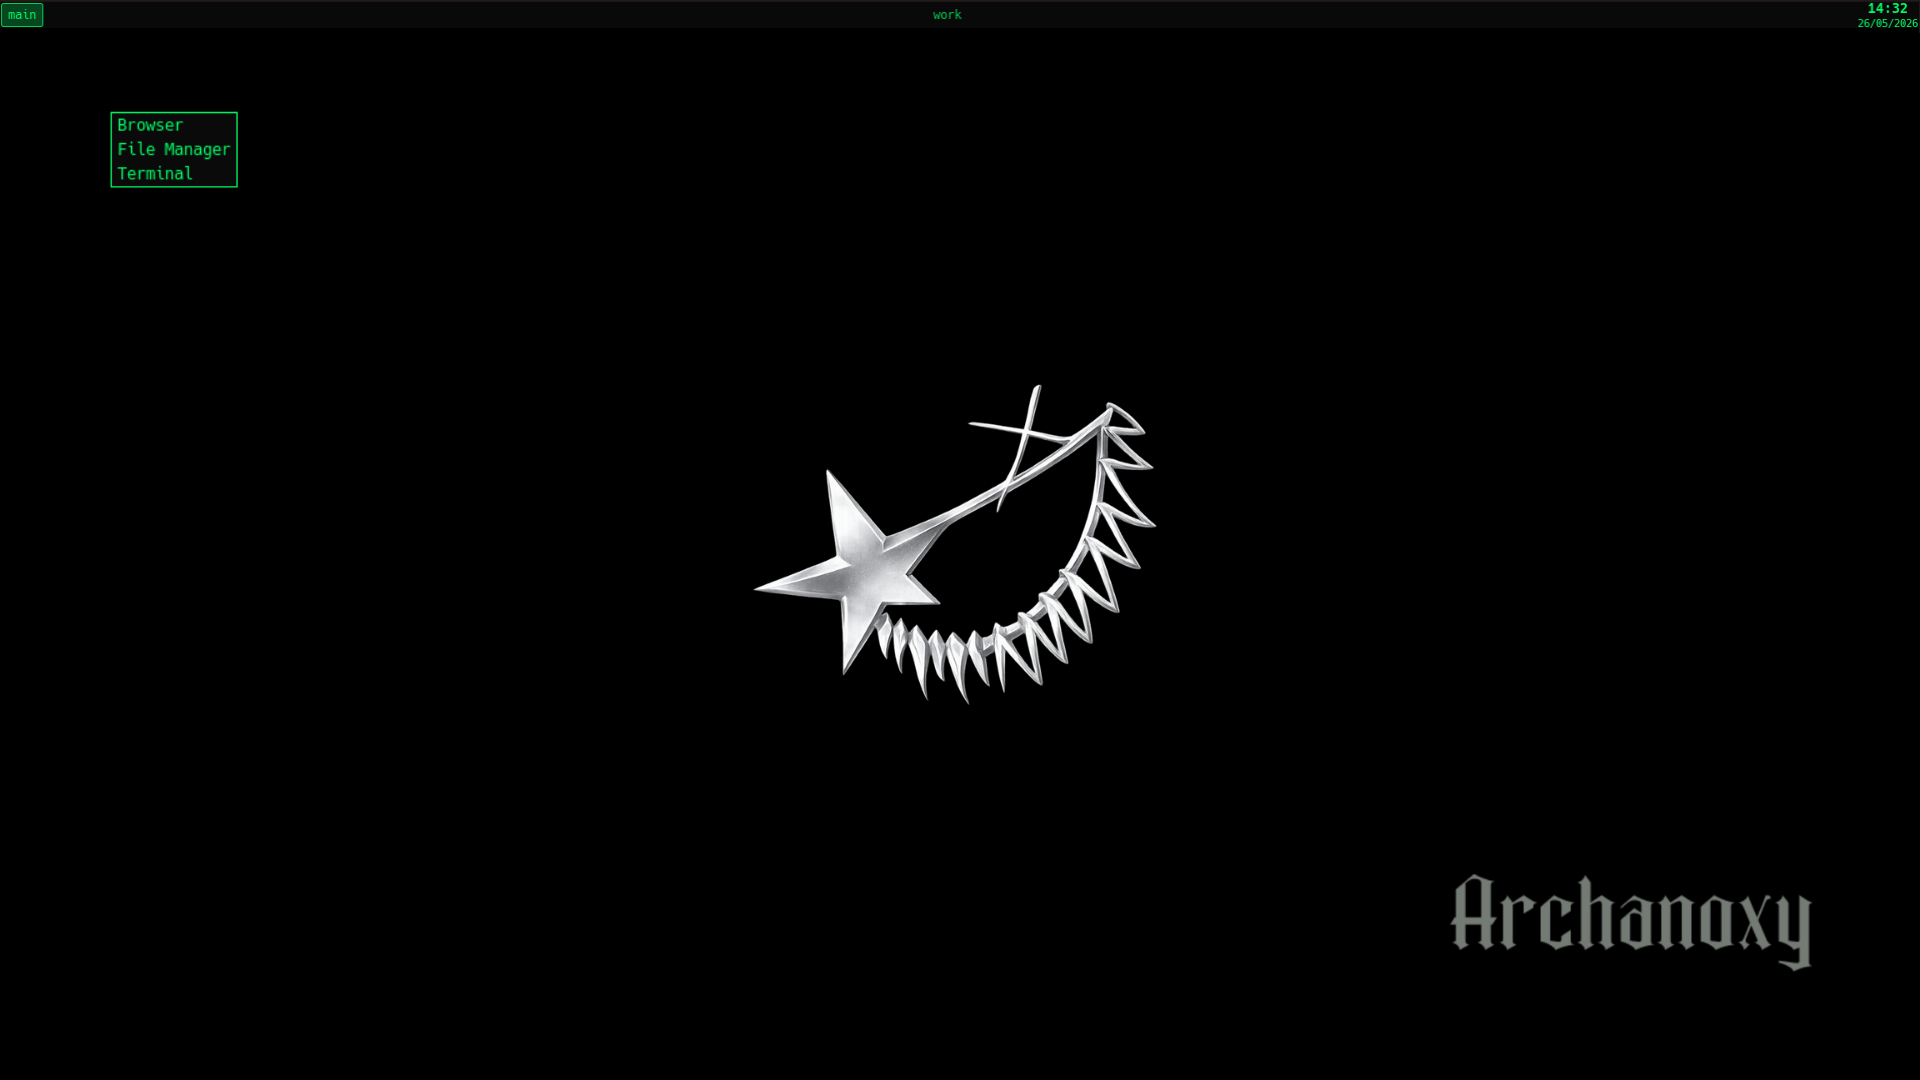
Archanoxy is designed and developed strictly for cybersecurity professionals, penetration testing
auditors, and academic researchers conducting authorized network security assessments.
CRITICAL WARNING
This operating system and its preloaded toolsets must only be deployed on systems and networks where you
have explicit, written authorization to perform security testing. Unauthorized access to computer
networks, intercepting packets, or executing exploits without permission constitutes a serious computer
crime under international laws. Users assume full, sole liability for their actions. The developer of
Archanoxy shall not be held liable for any illegal applications or civil damage resulting from the use of
this software.
Additionally, the operating system is provided "as is" without warranty of any kind. Gaining unauthorized
access to remote assets, data loss, partition damage, or system errors resulting from partition setups are
the sole responsibility of the user. Always back up important files prior to raw disk modifications.
To flash the Archanoxy ISO file to a USB device and prepare for system booting, follow the steps below:
Writing to USB Flash Drive
Using dd command on Linux / macOS:
Open a terminal and identify the target block device name (e.g. /dev/sdX) using
lsblk. Run the following command:
sudo dd bs=4M if=archanoxy-v1.0-x86_64.iso of=/dev/sdX status=progress oflag=sync
CAUTION
TARGET DEVICE
Double-check that the target of=/dev/sdX matches your flash drive exactly. Entering a primary
storage drive identifier will overwrite the host operating system and permanently destroy its contents.
Using Graphical Utilities on Windows:
- Rufus: Select the ISO file and write the image in "DD Image Mode" to guarantee block
consistency.
- BalenaEtcher: Select the ISO, choose your target USB drive, and click "Flash" to start.
Booting the Live Medium
- Insert the prepared USB drive into the target computer.
- Restart the computer and press the boot selection key (typically
F12, F11,
F8, or Esc depending on the motherboard).
- Select the USB option from the boot list. The installation image supports both UEFI and
Legacy BIOS modes.
- In the GRUB splash screen, select
Archanoxy Install Medium (x86_64) to initialize the live
environment.
Once you boot into the live Openbox environment, you can install the system to disk using our custom CLI
wizard. Launch a terminal and run the command with root privileges:
sudo archanoxy-install
The wizard will guide you through the following phases:
01
Keyboard Layout Selection
Choose your console keyboard layout (e.g. type us, or trq for Turkish Q.
Type / to display a list of all supported system layouts).
02
Locale Selection
Define your system language and regional configuration (default is en_US.UTF-8, or
specify a custom locale supported by your system).
03
User Account Setup
Configure the username and password for your main system account. You will also be prompted to define
the root administrative password.
04
Network Hostname
Specify the local network hostname to identify your machine on network scans and nodes.
05
LUKS Disk Encryption
Secure client records and project data. Select whether to encrypt your main system partition with
LUKS and define a secondary boot passphrase if enabled.
06
BlackArch Categories
Install only what you use. The installer offers 33 specialized security categories (e.g. Wireless,
Web-apps, Crackers, Forensics). Input the desired numbers separated by commas (e.g.,
1,3,5,9).
07
Partitioning, Pacstrap & Bootloader
Select your installation disk. The script wipes old partition tables, partitions the drive with GPT
layout, runs pacstrap to install basic packages and Openbox, configures configuration
rules, registers custom tools, and configures the GRUB. Restart and remove the USB drive once
complete.
Manage window configuration files, establish network connections, and maintain packages using our preloaded,
system-wide shell commands:
openbox-manager
Window & Menu Configuration: Launches an interactive command menu to edit your
right-click Openbox menu (menu.xml), auto-starting tools (autostart), hotkeys
(rc.xml), reload configurations, and restart window components or the tint2 status panel.
net-settings
Network Configurations: Enables the NetworkManager daemon and opens the terminal UI
utility nmtui to easily connect to local Wi-Fi, Ethernet, and VPN access profiles.
update
System Upgrades: Upgrades all system-wide repository packages, audits and removes
orphan dependencies, cleans Pacman's download database cache, and clears the user's local cache.
fix-pacman
Pacman Troubleshooting: Re-initializes and repopulates the Arch Linux and Archanoxy
repository PGP signing keys. Clears keyring validation errors and updates package sync indices.
alsamixer
Audio Adjustment: Standard interactive shell audio panel to manage hardware soundcards,
adjust volume channels (dB), and toggle microphone states using directional keys.
shutdown now
Power Off: Terminates all running background daemons and immediately shuts down system
hardware.
reboot
System Reboot: Syncs disk buffers, safely unmounts filesystems, and performs a warm
reboot of the computer.